
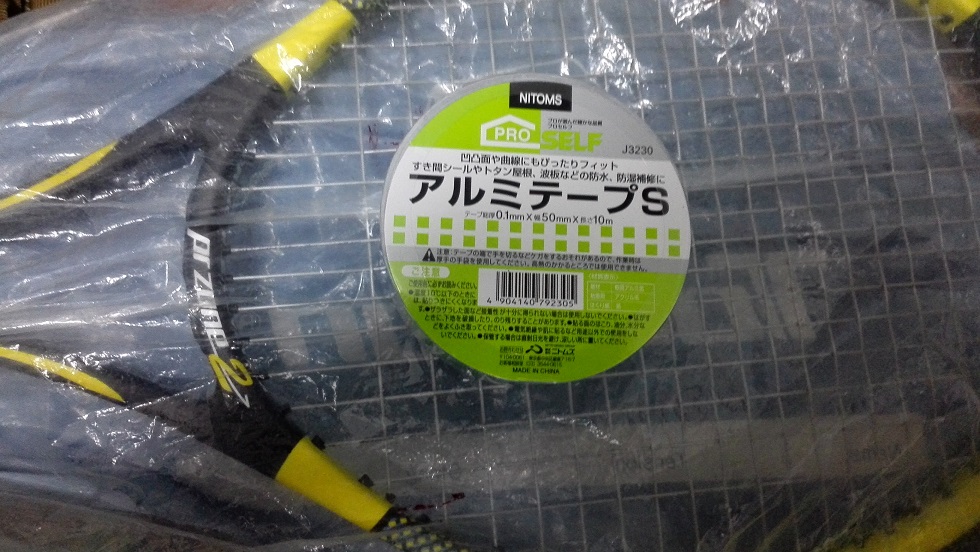
ネットサーフィンしてたらアルミテープチューンなるものがある事を知りました。
車関係で注目されているらしく、なんかアルミテープを貼るだけで車の性能が上がるとかどうとか・・・
で、プロスタッフ17mmのブログさんがラケットにも使えるんじゃないか~なんて書いていたので、僕もやりたくなった次第です。
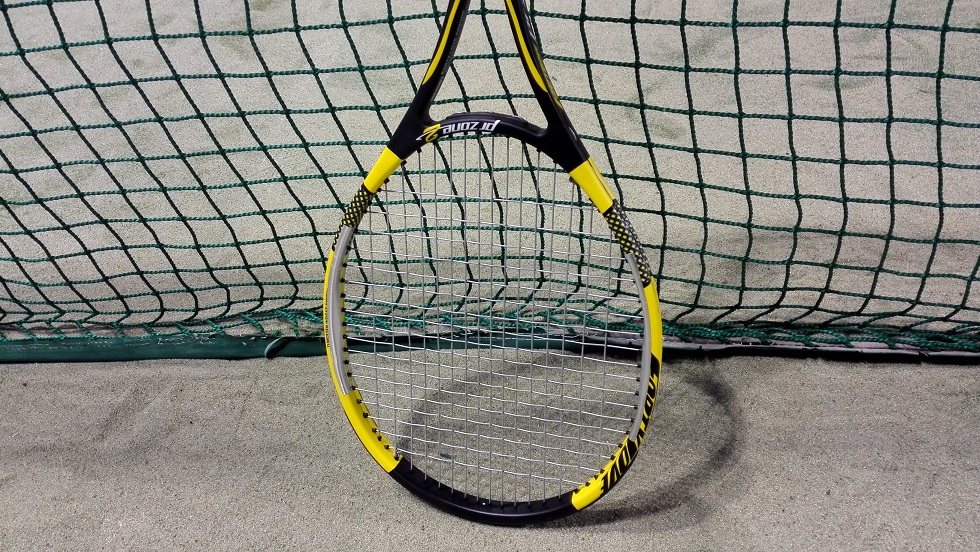
このプロゾーン、元のスペックがレザーグリップで310gなのですが現在元グリをシンセティックにして約300gで使用中。
初めは扱い易くて良いな~なんて思ってたけど、何だか軽すぎるせいか?余計な振動が多過ぎて面の安定性がちょっと信頼できない気がする・・・これじゃ上のレベルのラリーに耐えられないのでは。
元がもう少し重いラケットであればカーボンの密度があるのかな?ハイモジュラスカーボンふんだんに使ってるとは言うけど・・・
でも310gは結構重い部類だけど・・・でもこの重さはレザーでも稼いでるしなぁ・・・やっぱグラファイトの方が・・・
という事でひとまずテープでチューン。
リードテープとは目的が違うから軽くてべったり貼り放題。
これでリードテープめっちゃ貼ってるプロの真似が外見だけできるぞ。
そして打ってみると・・・効果ある気がする。
気持ち少し振動が減ったかも?
あとやっぱ重さがある気がする。貼りすぎか、でもそれが逆に良かったのか。
こんなテープを貼るだけで本当に効果あるのか?と思うけど、リードテープって打球感も変わるって言うし、良いかもしれない。
大きい変化では無いのでもうちょっと打ってみないと確信持てないな。
でもこのテープが車のサイズで効果が出るってのは驚きだなぁ・・・。
ただ、これでフェイス部分の振動は少しはマシになった気がしたけど、今度はグリップが気になる。
グリップにも雑な振動が最下部まで一直線に伝わって頼りない。
そもそも元グリがシンセティックなせいか、なんか軽くてラケットを握っている感じがしない。
グラファイトも使い辛さのあまりシンセティックにしちゃってるんだけど、正直ずっと違和感あるまま僕は今日までやってきたんですよ。
だってラケットを握った時点で握ってる感覚が無いじゃないですか、重みが無いじゃないですか(ぇ
高校生の頃の初代EXO3グラファイトから僕はラケットには必ずレザーを巻いてきました。
type-Jもレザーにしたし・・・あ、今見たら100Sは標準のシンセティックのままだった(笑)
EXO3ツアーも100Tも即?だったかは定かじゃないけど、あとピュアドラだってレザーにして。
もう僕の手の感覚のベースがレザーになってしまっていたのだ。
黒ファイトにしてからもしばらくはフェアウェイ巻いて最高のラケットを!なんてやってたんですけど、27.5インチの330gオーバーは使うの無理ってなってエスマッハ280にフェアウェイ装着して使用後、27インチとシンセティックにして黒ファイト復帰。
そして、上のレベル相手に良いプレーを続かせる為に更なる負担軽減を・・・なんて思って今のラケットなんだけれど、シンセティックの心もとなさにもう俺は限界だ・・・!巻くぞレザーを・・・!!!!
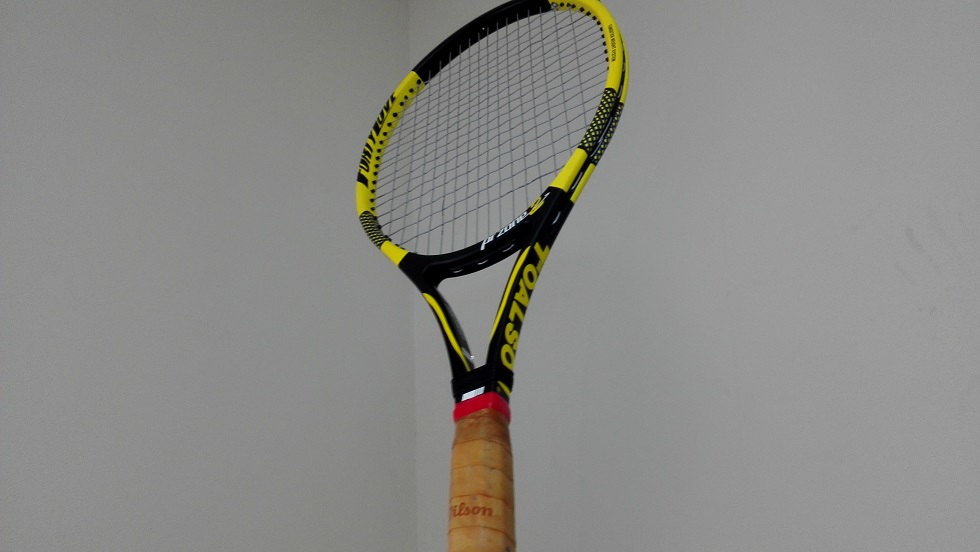
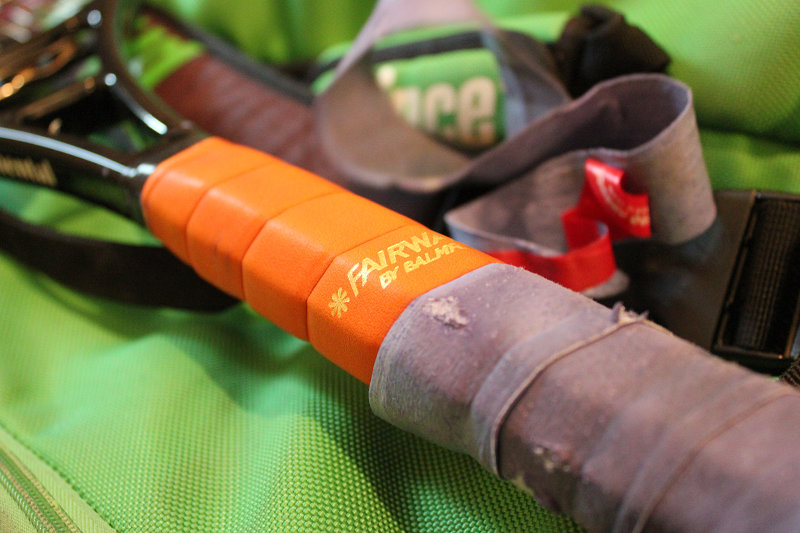
という事で今日はアルミテープとは別のラケットでレザー版も用意。
このウィルソンのレザーは大学生の頃からの使い回し。
確か100Tの時にバイト先の店で一緒に買って巻いたレザーで、他のラケットにも巻いた事があったような。
もう何年も前のな上に幾つかのラケットで使い回してるけど、まだまだ頑張ってくれるかな。
巻いた時点で握ってみると、やっぱレザーは重いなという感想。
手元に重量が来過ぎて・・・これを求めてたんだけどもやっぱ重い。
でもコートで振っていると馴染むわ馴染むわ。
しっかりボールを打てる。
シンセティックで感じた嫌な振動もレザーの前ではある程度緩和される。
いや、レザー装備が基本だからこれがプロゾーンの正しい打球感?
でもこっちのラケットはフェイスにアルミテープしてないんで、やはりフェイスが気になる。
両方装備すれば大分良い感じになるかな。
重さが増えるといっても、前のラケットが330gぎりぎりだったら310gぐらいいけるだろきっと・・・?
格上のテニスのスピードについていくには軽さと操作性が欲しい、でも格上と打ち合うには重さとラケットの安定感も欲しい・・・ど、どうすれば・・・
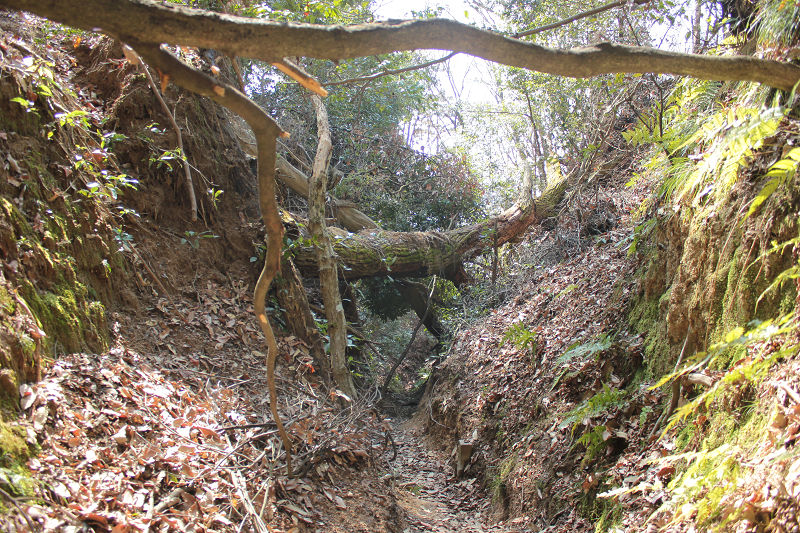
やはり・・・登るしかねぇか・・・山ッ!!!!
今年の冬は・・・体力強化・・・!!!!!!


screen capture software
Best Screenshot Tool for Windows 10 & 11
If taking screenshots is part of your everyday work, the default Windows Snipping Tool quickly becomes a limitation. Extra steps, no cloud upload, no instant links, and slow interaction make it impractical for modern workflows. A professional screenshot utility should be invisible, fast, and optimized around a single flow: capture, then upload and share.
This lightweight screenshot tool for Windows 10 and 11 is built specifically around this idea. Press PrtScn, select any region of the screen, release — and the screenshot is already uploaded. The shareable link is copied to the clipboard automatically. No save dialogs, no browsing folders, no manual uploading.
Region capture is precise and predictable. A clean crosshair selector allows pixel-accurate selection, allowing easy capture of interface elements, code fragments, charts, or partial screens — faster and more dependable than the default Snipping Tool.
Full-screen capture is equally straightforward. Press Shift + PrtScn to instantly capture the full desktop. The result is a full-resolution screenshot perfect for documentation, presentations, and bug reports, with no interruptions or popups slowing you down.
The key advantage is instant cloud upload. Every screenshot is uploaded automatically, with the link ready in milliseconds. You can paste the link directly into chats, emails, or support tickets without touching the file system or third-party image hosts.
The application runs silently in the system tray and is built to stay unobtrusive. Memory usage stays under 50MB RAM, launch time is virtually instant, and the installer is only 2MB. Compared with heavier tools such as Greenshot, Lightshot, and ShareX, the difference in speed and responsiveness is immediately noticeable.
Privacy is handled correctly. No ads, no analytics, no tracking, and no background data collection. Screenshots frequently include sensitive data, and this tool treats them accordingly — and no unnecessary processes running behind the scenes.
Hotkeys are fully customizable. You can assign PrtScn, Ctrl+Shift+S, or any shortcut you want, and fine-tune image quality and behavior without bloated settings panels or cluttered menus.
The default Windows Snipping Tool works, but only handles capture. It offers no cloud workflow, no instant sharing, and no speed optimization. This tool replaces it by focusing on what actually matters: capturing information and sharing it immediately.
If you take screenshots every day — for development, support, remote work, or documentation — speed and simplicity are essential. A modern screenshot tool should feel like a system feature, not an application.
lightweight screenshot app The Best Screenshot Utility for Windows 10 & 11 If screenshots are part of your daily workflow the built-in Windows Snipping Tool quickly starts to feel limiting. Extra steps no cloud upload no instant links and slow interaction make it unsuitable for today’s workflows. A proper screenshot tool should be invisible fast and optimized around a single flow: capture then upload and share. This lightweight screenshot tool for Windows 10 and 11 is built specifically around this idea. Press PrtScn select any region of the screen release — and the screenshot is already uploaded. A shareable link is automatically copied to the clipboard. No save prompts no directories no manual file handling. Region capture is precise and predictable. A simple crosshair selector enables pixel-level accuracy allowing easy capture of interface elements code fragments charts or partial screens — faster and more dependable than the default Snipping Tool. Capturing the entire screen is just as easy. Use Shift PrtScn to capture the entire desktop instantly. The result is a full-resolution screenshot perfect for documentation presentations and bug reports without delays or popups breaking the workflow. The main advantage is instant cloud uploading. Each screenshot is uploaded automatically and the sharing link available within milliseconds. The link can be pasted instantly into messengers emails or support systems without dealing with files or third-party image hosts. The tool works quietly from the system tray and remains out of your workflow. Memory usage stays under 50MB RAM launch time is virtually instant and the installer size is just 2MB. When compared to heavier alternatives like Greenshot Lightshot or ShareX the performance and responsiveness difference is obvious immediately. Privacy is treated properly. No ads no analytics no tracking and no background data collection. Screenshots often contain sensitive information and this tool treats them accordingly — and no unnecessary processes running behind the scenes. Hotkeys can be fully customized. You can map PrtScn CtrlShiftS or any custom key combination and fine-tune image quality and behavior without oversized settings or cluttered interfaces. The built-in Windows Snipping Tool works but it stops at capture. It offers no cloud workflow no instant sharing and no speed optimization. This tool serves as a replacement by focusing on what matters most: capturing data and sharing it without delay. If you take screenshots every day — for development support remote work or documentation — speed and simplicity are essential. A modern screenshot tool should feel like a native system feature not a standalone app.
fc777 slot offers the best slot machines and generous bonuses for all players. Its origin traces back to innovative developments in technology.
vavada službena aplikacija http://vavada2007.help/
mostbet sloturi online mostbet sloturi online